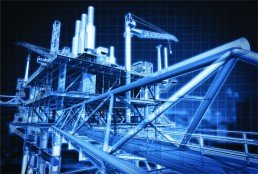
Laser Scanning
IPDS can capture as-built information rapidly, accurately and in fine detail to provide detailed measurement and documentation of 3D data with high accuracy. IPDS use state-of-the-art laser scanners capable of capturing one million points per second combined with high-resolution camera panoramic images to create coloured Point Cloud data.


Photogrammetry
Photogrammetry survey is the basis of high-resolution digital image capture. This highly precise and adaptable data can be employed in many ways, from an accurate record of the as-built status of a facility to 3D visualisation. Benefits include usage in congested or inaccessible areas and integration with laser scan data.
Scan to CAD Model
Our experienced engineers will ensure that the key parts of the Client’s process/site are captured to obtain accurate as-built information. This is the fundamental tool for the success of any plant modification project. Our as-built models are constructed from several data sources including laser scan data, photogrammetric survey, line lists and P&IDs. The as-built model is then transferred into the Client’s preferred CAD system (such as AutoCAD, E3D, SmartPlant 3D, Microstation or PDMS) which will allow a high level of precision to be obtained with minimal effort, avoiding any unexpected difficulties arising during the design and construction phases.


